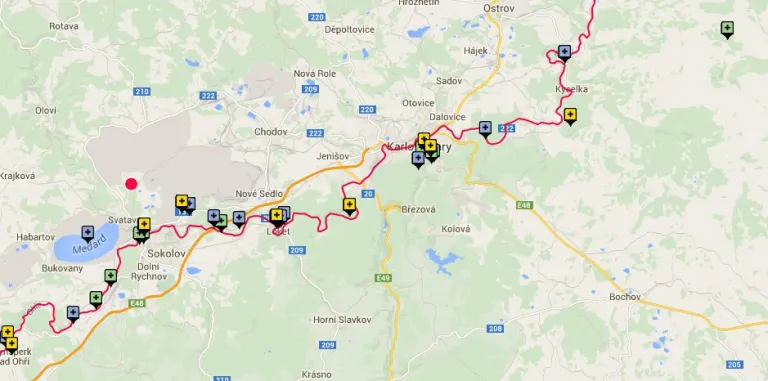
OpenLayers module is a popular solution for mapping in Drupal. The biggest benefit is the ability to use different map providers, complete Feature support and, last but not least, the simplicity of creating custom markers.
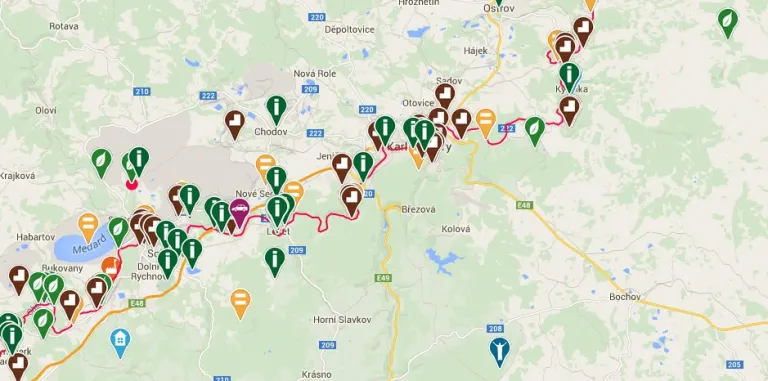
Good selection of markers can have a big influence on the overall success of the site. It can improve user experience because with good icons and color codes, the user can easily see what the marker is about without clicking it. The default set of markers in Open Layers is too generic, they are just basic points with no added value – and that is perfectly fine. For a simple site with few points and basic categorization, there is no need for fancy markers. But if the map needs to be clear to users and the markers look good on high resolution screens then you'll need to create custom markers.


Let's create a marker
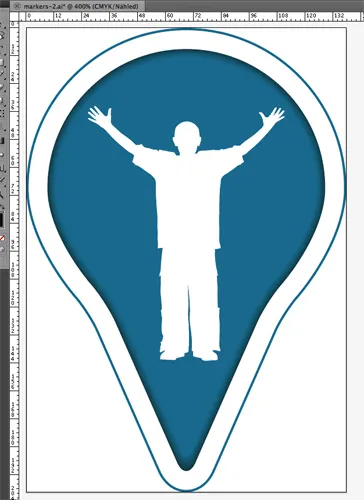
The first step is to create your own marker images.
Open your favorite image editing or vector drawing application. It doesn’t matter which you use, what matters is the final exported file. I use Adobe Photoshop or Illustrator, but you can use Corel Draw, Gimp, Fireworks etc...
Create a new document, make it at least two times larger than your desired marker size in both directions. On the new blank canvas make sure the marker point is on the bottom border. In fact, the marker should fill the whole canvas.
Exporting the marker image
Once you have the image(s) ready, you have to export them in the correct format. OpenLayers works with PNG, GIF and SVG. Many of you will cheer that SVG is supported, but I strongly recommend to stick with PNG files. The time for SVG has not arrived. There are still some backward compatibility issues, and I’ve noticed jagged lines on some browsers/devices combination. If you create the PNG marker with alpha transparency and make it two times larger, the resulting PNG will be crisp everywhere.
Creating custom marker
Now that we have the image ready upload it to the site. You can store it in a simple module or add inside a Feature module.
Go to /admin/structure/openlayers/styles and from this page you can see all the current styles. Instead of creating a new marker, just clone an existing one. This will save you time because you won't have to fill out the whole form.

In the marker edit form, you have to specify the correct path to the marker.

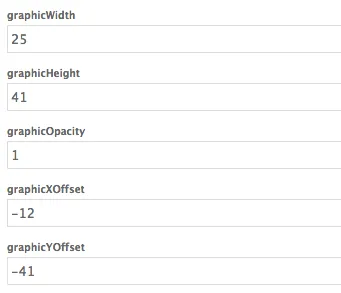
The most important part of this form is where you set the dimensions and offset for your image. Offset needs to be changed so the point of the marker is in the middle of the preview square on style list. This will require some trial and error to get right. Here, you also set half the real image size – we have created the images double the size, remember? This will provide us with crisp looking images on high resolution ('retina') devices.

Once you've finished configuring the marker, save the form and it's ready to be used in a map.

As you can see, it's relatively easy to change the look and feel of a map using custom markers. It's now more readable and descriptive for users. You could further improve things by creating a legend which will explain the markers.
If you have any questions, or want to show others your new marker set, please leave a comment.


